38 how to make print and cut labels on cricut
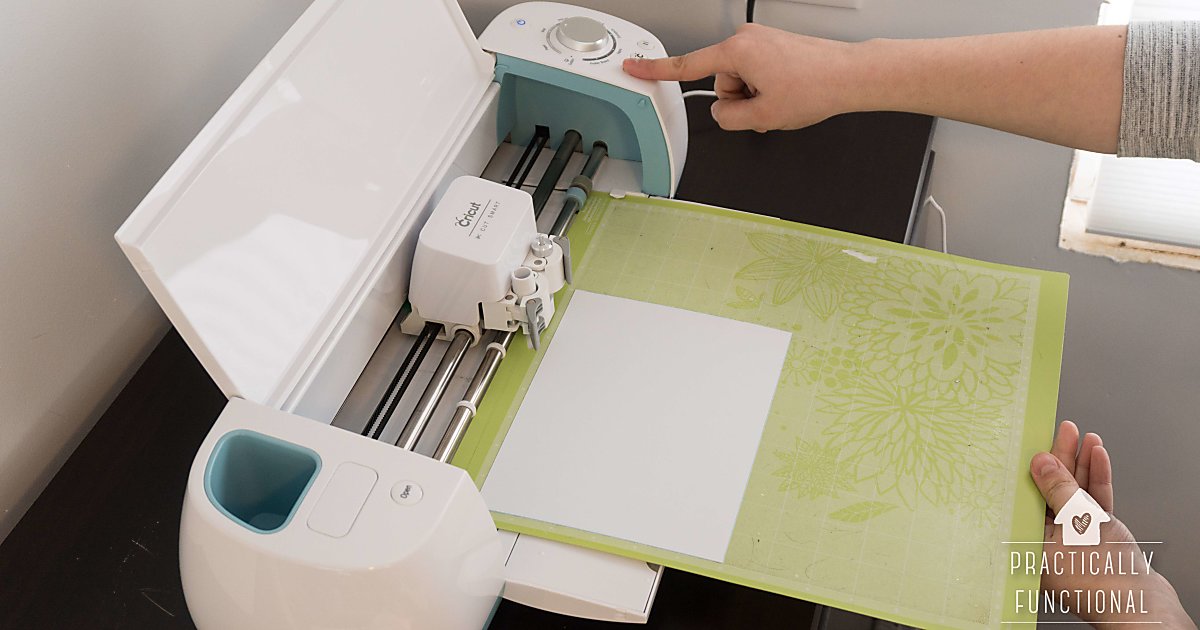
Print & Cut Label Tutorial in Cricut Design Space Take the printed page with the black border and place it on your mat. Load it in the machine with the "arrow" button, and Press the "C" button to start the print and cut. When the images are cut, remove the mat and you will have beautiful stickers. Please let me know if you have any questions or if one of the steps is not clear. How to make stickers with Cricut: A guide for basic home printers! The process for making stickers in Cricut's design space is the same no matter what printer you have. Step 1: Put your design onto a blank canvas in Design Space You can use clip art, things from Design Space, your own files you uploaded, and even photos.
How to make vinyl stickers with Cricut Click "Make it" in the upper right corner and follow the prompts on the software and machine through the cutting process. Once done cutting, the machine will indicate that it's time to unload the vinyl and weed the design. Weeding is simply a term used to describe removing excess vinyl from around the sticker's design.
How to make print and cut labels on cricut
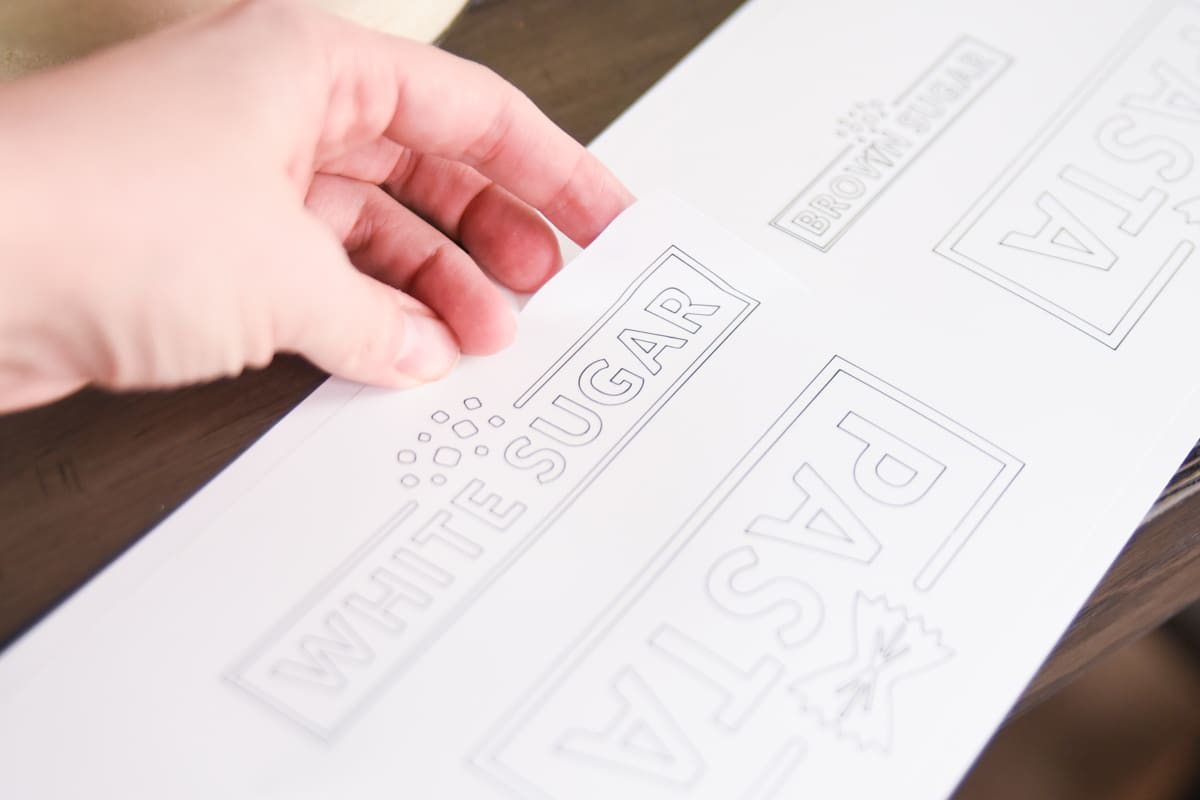
Printable Labels with Print then Cut on Your Cricut Machine Click flatten in the lower right-hand corner to make this a print then cut label and it is ready for your machine! Be sure to delete any labels you don't want to use before continuing. Step 3: Making Printable Decorative Labels with Print Then Cut Now it is time to use print then cut to actually make our printable labels. Print & Cut Label Tutorial in Cricut Design Space - Crafting a Family Take the printed page with the black border and place it on your mat. Load it in the machine with the "arrow" button, and press the "C" button to start the print and cut. When the images are cut, remove the mat and you will have beautiful stickers. Please let me know if you have any questions or if one of the steps is not clear. jennifermaker.com › easy-printEasy Print & Cut Stickers on a Cricut! - Jennifer Maker Mar 20, 2020 · The best material setting for cutting your print and cut stickers in Cricut Design Space is "Sticky Note" (Explore users: be sure to set your dial to Custom to see this option). If you have issues with the Cricut cutting all the way through your sticker paper, try the "Washi" setting instead.
How to make print and cut labels on cricut. craftycuttersvg.com › print-and-cutPrint then Cut with Cricut Joy - Crafty Cutter SVG Because we need the printed stickers to match up with with the cut lines for the stickers we need to sort out our Cricut cutting mat first. We need to make sure that our print will line up with our cut lines. The Cricut Joy has a 4,25” x 6,25” cuttable area. As you know the mat itself is 4,5” x 6,5”. Easy Print then Cut Stickers with Cricut | Design Bundles Start by pressing the green Make It button on the upper right hand corner of the screen. This will start the cutting process and take you to another page. Step 18 - Continue to next page Click the Green Continue button on the lower right-hand corner of your screen. Step 19 - Send to Printer Click on the green Send to printer button. Step 20 - Print How to Make Vinyl Labels with a Cricut | A Comprehensive Guide Start by opening Cricut Design Space and use the search bar in the Image Library to find pictures for everything you want to label. Select images that are both simple in design and intuitive to understand. Notice the three images I selected below are not single color/layer images when I first place them on my canvas. Address Labels with Cricut - Crafting in the Rain Print then cut address labels Start by creating a rectangle that's 2.8 inches wide by .8 inches tall. Type 3 separate text lines. The first is your name. The second and third are your address. By keeping them as separate lines, they will be easier to space properly. Choose a font for your name.
How to Make Vinyl Labels with your Cricut | Adhesive and HTV Make Vinyl Labels in Cricut Design Space. Step 1 - Type Text. Step 2 - Resize Labels. Step 3 - Change Colors & Send to Cut. Step 4 - Move Objects to Organize Mat (Optional) Section 1: Cut and Transfer Adhesive Vinyl Labels. Prepare Mat with Adhesive Vinyl. Cut & Weed. Transfer Adhesive Vinyl Label to Surface. › 2020 › 08How to Make Tumblers with Cricut Maker - Doodlecraft How to Make Tumblers with Cricut Maker. Learn how to personalize tumblers using a Cricut machine and permanent vinyl. These stunning tumblers make a great gift for teachers, bridesmaids or handmade holidays. Take it a step further and make tumblers to sell as a side hustle. Cricut Print And Cut Full Page Work Around ⋆ by Pink Upload your image to Design Space, or choose 1 from Cricut Access. To upload click on images, and then upload. When the image opens click on the full-color image, not the cut image. Resize the image and then click on the make. On the next screen, depending on the material, if it requires mirroring then mirror it and click continue. How to Make Vinyl Labels with a Cricut Cutting Machine Step 2- Create your design. If you are using a Cricut machine, you can find my exact project in Cricut Design Space here. To design my labels, I used a Cricut font called Balega Std Regular. I measured the bins I was labeling to figure out the best size, and I ended up using 55 pt font for my project. I simply typed out my wording to my desired ...
heyletsmakestuff.com › cricut-print-then-cutThe Ultimate Guide to Cricut Print then Cut - Hey, Let's Make ... Sep 16, 2021 · To use Print then Cut, you’ll need the Desktop or iOS app version of Cricut Design Space. The Andriod app doesn’t support Cricut Print then Cut at this time. Which Cricut Machines Work with Print then Cut? You can use the following machines with Print then Cut: Cricut Maker 3; Cricut Maker; Cricut Explore 3; Cricut Explore Air 2 Cricut Print and Cut - All You Need to Know! - Leap of Faith Crafting Use the Cricut print then cut function to make adorable stickers to add to notebooks, tumblers, decor, favor bags, and more! Learn if printable vinyl or sticker paper is better to use on water bottles by watching the video. Active Time 10 minutes. Total Time 10 minutes. Difficulty Medium. How do I Print Then Cut in Design Space? - Help Center Print the page using your home printer, then place the paper on the Cricut cutting mat and feed it to the Cricut machine. The machine will scan for the sensor marking then cut around the image with precision. Note: The maximum image size for Print Then Cut is 9.25" x 6.75" and the default material is 8.5" x 11". This cannot be changed at this time. › articles › sticker-paper-cutSticker Paper Cut Settings Guide for Silhouette, Cricut, and More Jun 07, 2022 · Online Labels® Sticker Paper Cut Settings for Cricut Explore 3 Skip the hassle of figuring out the right Cricut Explore 3 cut settings for your sticker paper with this guide. Includes kiss cut and full cut settings.
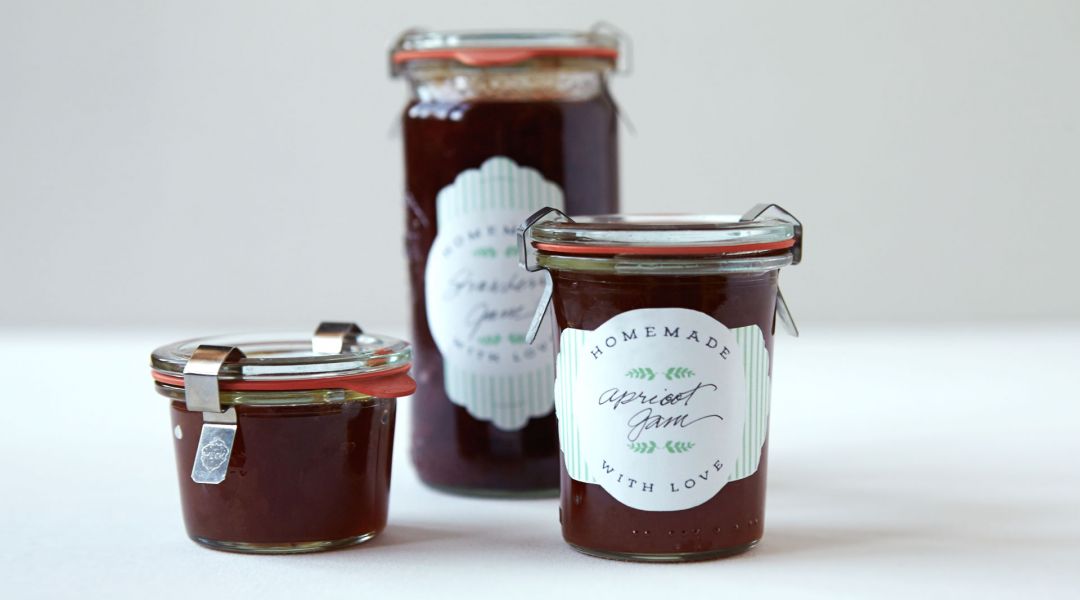
Cricut Crafts: DIY Jar Labels by Lia Griffith - Creativebug
Online Labels® Sticker Paper Cut Settings for Cricut Maker Online Labels Updated 02/07/2022 • ~1 minute read We've tested the new Cricut Maker™ with OnlineLabels.com sticker paper to bring you our recommended cut settings for each material. Continue to the chart below to find the cut settings for kiss cut and full cut stickers. Materials were tested on a Cricut Maker with the fine-point blade.

Cricut Explore Essentials: How to Make Pretty Organizing Labels » Christene Holder
How to Make Print then Cut Stickers in Cricut Design Space Create the sentiment. Search images for "Happy Holidays.". Select the image, and click "Insert Images.". This image has a shadow layer, but it is hidden by default. Click the eye to unhide it. Then resize the image to fit the sticker. Insert personalized text. Click on the Text button to create a text box. Select a font, and type in the ...

Cricut Explore Essentials: How to Make Pretty Organizing Labels » Christene Holder
A Guide To Making Labels with Cricut Print Then Cut Your Cricut machine will first scan the registration marks (the black rectangle) around your labels, and then cut out the shapes with precision! Step 5: Apply Your Labels Once you remove the excess paper around your labels, you can simply peel them off the mat or paper backing (if using sticker paper) and place them wherever you need them!

Atlanta Braves Logo (4), Svg, Dxf, Eps, Png, Cricut, Cutting file – SvgShopArt
Now click on "new project", and wait for it to load and do its thing. Then you are met with this screen. In the toolbar to the left on the screen, you will find a button that says upload at the very bottom. You want to click that now, so we can get your printable stickers uploaded to the program.
Making Labels with the Cricut Joy for Home Organization - Clarks Condensed
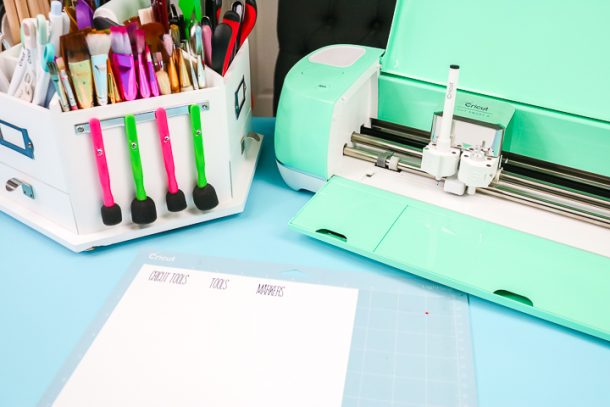
How to make labels with Cricut Make labels with Cricut Step 1 To design from scratch, click "New Project" on the home page of Cricut Design Space. Step 2 Once on the canvas, on the left-hand navigation bar, you'll see an option for "Images." Step 3 Click that button. You'll now be able to search in the Cricut image library!

How To Use Cricut Print Then Cut / DIY Labels and Stickers - YouTube
How to Make Stickers on a Cricut - Jennifer Maker In this tutorial I'm going to explain how to make Print then Cut stickers with and without the new offset feature in Design Space. I'll show you how to make a full sheet of "Kiss Cut" stickers. These are stickers that cut around the sticker, but not through the backing material. We'll also learn how to make " Die Cut" stickers and personalize them. A die cut sticker is when the sticker is cut all the way through the backing material.

Cricut Explore Essentials: How to Make Pretty Organizing Labels » Christene Holder
› cricut-labelsCricut Labels: 3 Ways to Make Them - The Country Chic Cottage Type out the words you want on your labels in any font. Center the words over the rectangle. Choose both objects and click flatten to make the label a print then cut. Repeat for as many labels as you need. Print when prompted in Cricut Design Space then add to your machine for the cutting.
25+ Easy Projects You Can Make with the Cricut Explore Air
Complete Print Then Cut Cricut Guide - How to Make Stickers and More! When you want to Print then Cut something using your Cricut machine, it's key to setup the design correctly in Design Space. There are two things that you must make sure you do: You must switch the "Operation" option to "Print then Cut >> Standard" itch setting from "cut" 2. Then you need to click "Flatten" on the bottom right.

718 best images about Cricut Help on Pinterest | Vinyls, Silhouette cameo and Silhouette online ...
How do I Print Then Cut with writing style fonts and images? Change the line type from Write to Print. Select a color if desired. Click Make It. Select and apply the number of project copies you want, then click Continue. Please note that there is not a way to print without the cut sensor marking at this time. Click Send to Printer, select your printer from the list, choose how many copies to print, then click Print.
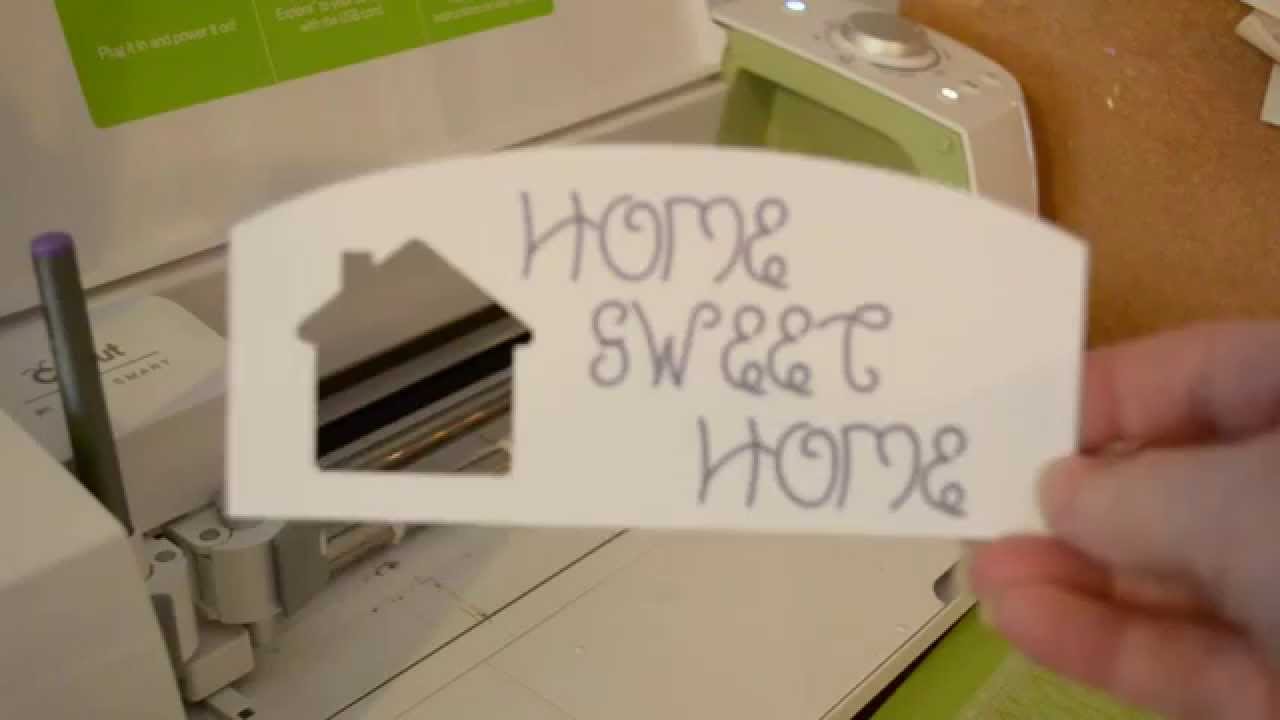
Write and Cut on Cricut Explore - YouTube
How to Make DIY Personalized Iron-On Name Labels Step 1: Cut Name on Oracal 651 Vinyl Using Vinyl Cutter. I sized the height of my kids' names at 1/2″ tall in Design Space to fit on the 5/8″ ribbon. I decided to cut my daughter's name twice to speed up the printing process. Once your vinyl cutter has cut your design, weed the letters. You will remove the letters, leaving the vinyl ...
Cricut Labels: 3 Ways to Make Them - The Country Chic Cottage
How To Use Cricut Print Then Cut / DIY Labels and Stickers I use it today to make some labels for strawberr... Hi guys! In today's video you will see how easy is it to use Cricut's print then cut feature to make labels.
20+ Pantry Label Cut Files - SVG, DXF and PNG files for Silhouette and Cricut - Organize your ...
Print and Cut Labels - Cricut Maker - YouTube Learn how to use the print and cut feature to create clear labels/ stickers.Affiliate Links:Amazon:Silhouette Clear Sticker Paper: ...

CRICUT PRINT THEN CUT - PRINTABLE STICKER PAPER | Ken's Kreations
Kitchen Labels, How To Print And Cut On Cricut - Extraordinary Chaos Now Create A Background For Your Label Next duplicate your shape, make one slightly larger that the other before choosing and background pattern for your print and cut sticker. I chose a floral background and a white inner sticker. When you are happy with the pattern and inner colour place one over the other to create a patterned border.

Print & Cut Label Tutorial in Cricut Design Space ~ Craftingafamily.com
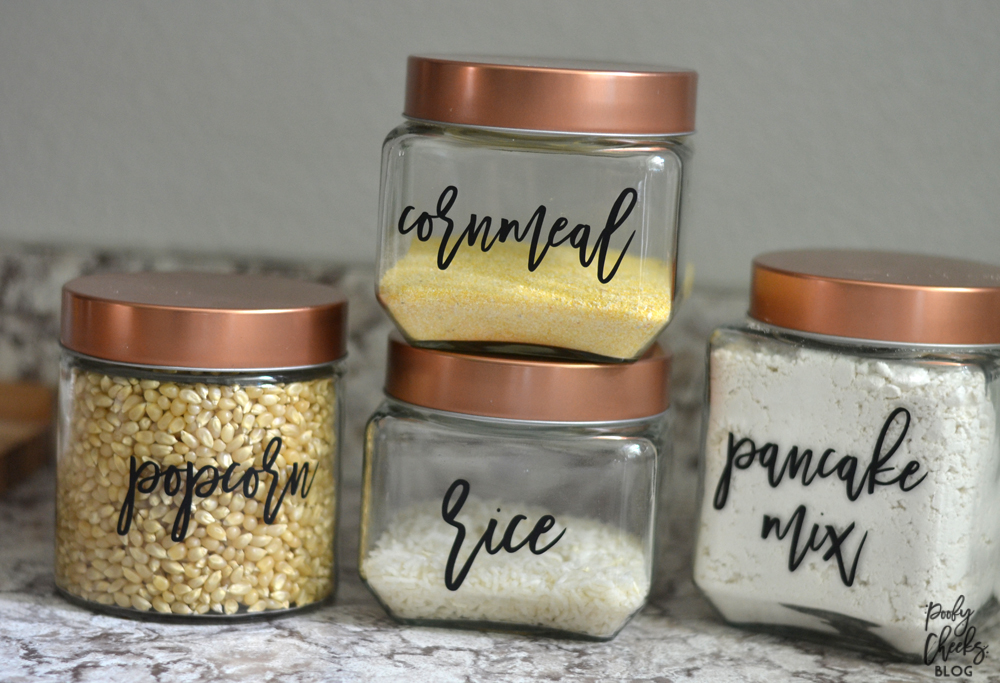
heyletsmakestuff.com › vinyl-pantry-labels-fVinyl Pantry Labels - Free SVG Labels! - Hey, Let's Make Stuff Mar 12, 2019 · Cut the files on your Cricut, making sure to select “Vinyl” as your material type. Adhering Labels to Glass Using Transfer Tape. Once the files are cut, weed out everything but the labels—the letters and the white circle. Make sure you check out all of my best weeding adhesive vinyl tips.

Cricut Explore Essentials: How to Make Pretty Organizing Labels » Christene Holder
How to Make Stickers with Cricut Print + Cut (2022) For more on this print then cut feature check out my post, How to Use Cricut's Print then Cut for Beginners. Step Two: Upload the .png or .jpeg or .svg Files into Cricut Design Space First thing, create an account if you haven't done so. Then, open up Cricut Design Space, and on the Home page choose New Project. This will open up a new canvas.

Cricut Explore Essentials: How to Make Pretty Organizing Labels » Christene Holder
How to Print and Cut Round Stickers on the Cricut - Jennifer Maker Go to Design Space at Click New Project Click the Upload button Browse, find, and upload the sticker file On the next screen, under "Select Image Type," choose Simple then click Continue. On the next screen, just click Continue. On the next screen, keep it selected as "Save as print then cut image" then click Save.
How To Cut Vinyl With A Cricut Machine: A Step By Step Guide – Practically Functional
jennifermaker.com › easy-printEasy Print & Cut Stickers on a Cricut! - Jennifer Maker Mar 20, 2020 · The best material setting for cutting your print and cut stickers in Cricut Design Space is "Sticky Note" (Explore users: be sure to set your dial to Custom to see this option). If you have issues with the Cricut cutting all the way through your sticker paper, try the "Washi" setting instead.

EASY DIY PANTRY LABELS WITH YOUR CRICUT | EVERYDAY JENNY
Print & Cut Label Tutorial in Cricut Design Space - Crafting a Family Take the printed page with the black border and place it on your mat. Load it in the machine with the "arrow" button, and press the "C" button to start the print and cut. When the images are cut, remove the mat and you will have beautiful stickers. Please let me know if you have any questions or if one of the steps is not clear.
Post a Comment for "38 how to make print and cut labels on cricut"